xhys121zero2024-06-21文章来源:SecHub网络安全社区
root@hacker:/# cd $HOME
root@hacker:~# ls
snap
root@hacker:~# mkdir -p .config/pip
root@hacker:~# ls
snap
root@hacker:~# cd .config/pip/
root@hacker:~/.config/pip# vim pip.conf
root@hacker:~/.config/pip# cd ..
root@hacker:~/.config# cd ..
root@hacker:~#
pip.conf里面写入以下内容:
[global]
index-url = https://pypi.tuna.tsinghua.edu.cn/simple
主流是python3,安装就完事了
sudo apt install python3-pip
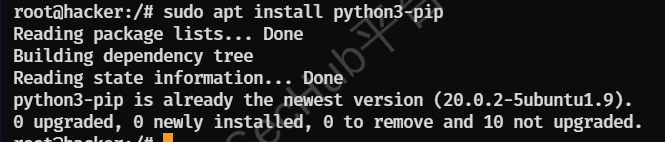
sudo apt install python3-pip
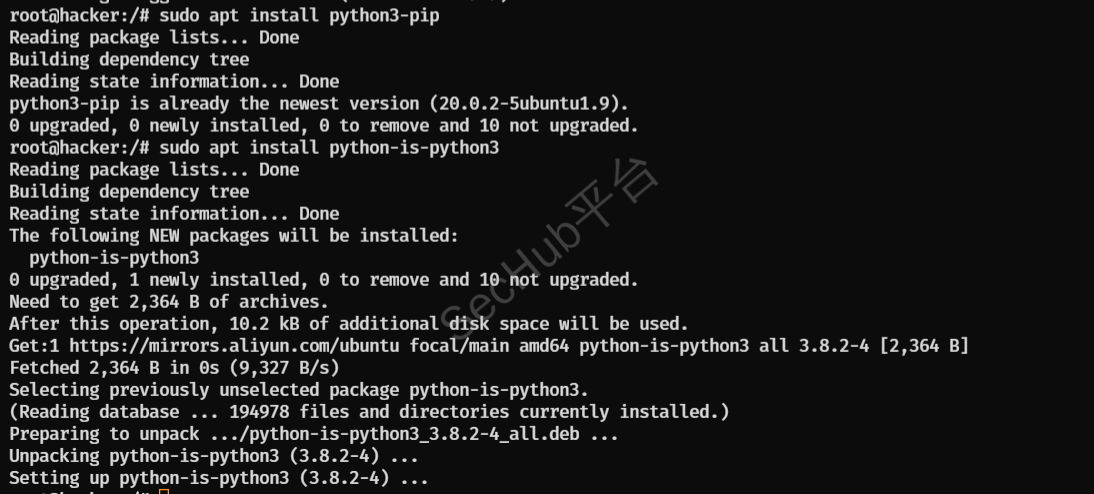
作用:设置Python命令默认为Python3
sudo apt-get install qemu-user qemu-system
作用:为后面模拟一些别的环境的题目做环境部署

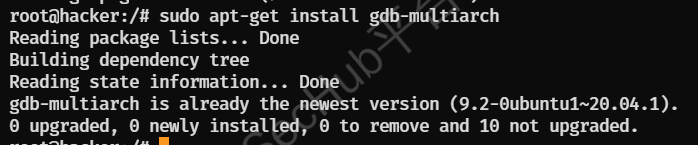
作用:用作gdb客户端进行调试,通用客户端
sudo apt-get install gdb-multiarch
首先建议在主目录下创建一个tools目录,这样我们git下来的工具就有统一存放的位置,也方便后续查找和配置:
我自己是在根目录底下创建了一个tools目录。
root@hacker:/# cd /
root@hacker:/# mkdir tools
root@hacker:/# cd tools
root@hacker:/tools#
先附上pwntools的简介:
Pwntools是一个CTF框架和开发…简单点来说就是打PWN的工具,用Python开发的工具。
pwntools有两种安装方法,一种是git项目后安装,还有一种是pip直接安装。这里我们把Pwntools git下来,用pip安装。
命令如下:
root@hacker:/tools# git clone https://github.com/Gallopsled/pwntools
root@hacker:/tools# sudo apt-get install python3 python3-pip python3-dev git libssl-dev libffi-dev build-essential
root@hacker:/tools# python3 -m pip install --upgrade pip
root@hacker:/tools# python3 -m pip install --upgrade pwntools(网不好的换源)
这里呢,git的地址也可以用gitclone上面的pwntools克隆源地址:
PS:针对网络不是稳定的师傅,可以用这个源地址,更快一些。
测试pwntools:
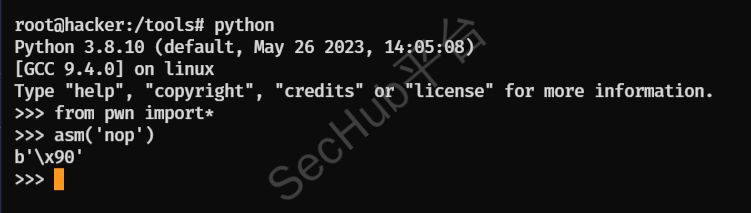
使用上述命令,如果能回显成功,则证明安装成功。
先把三个git下来,git不下来的,去gitclone上面搜索相应的克隆地址:
root@hacker:/tools#git clone https://github.com/longld/peda.git
root@hacker:/tools#git clone https://github.com/pwndbg/pwndbg.git
root@hacker:/tools#git clone https://github.com/hugsy/gef.git
root@hacker:/tools#git clone https://github.com/scwuaptx/Pwngdb.git
gitclone上面的相应地址如下:
root@hacker:/tools#git clone https://gitclone.com/github.com/longld/peda
root@hacker:/tools#git clone https://gitclone.com/github.com/pwndbg/pwndbg
root@hacker:/tools#git clone https://gitclone.com/github.com/hugsy/gef
root@hacker:/tools#git clone https://gitclone.com/github.com/scwuaptx/Pwngdb
git后的目录情况:

命令如下:
root@hacker:/tools# ls
gef peda pwndbg Pwngdb pwntools
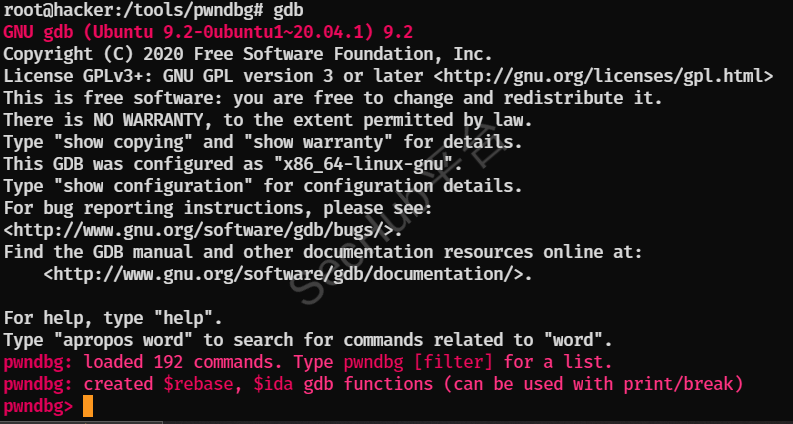
root@hacker:/tools# cd pwndbg
root@hacker:/tools/pwndbg# ./setup.sh
安装插件依赖:
root@hacker:/tools/pwndbg#sudo pip install keystone-engine ropper keystone-engine
在家目录地下,使用vim创建一个.gdbinit配置文件,内容配置如下:
root@hacker:/tools/pwndbg# vim ~/.gdbinit
#pwngdb
source /tools/pwndbg/gdbinit.py
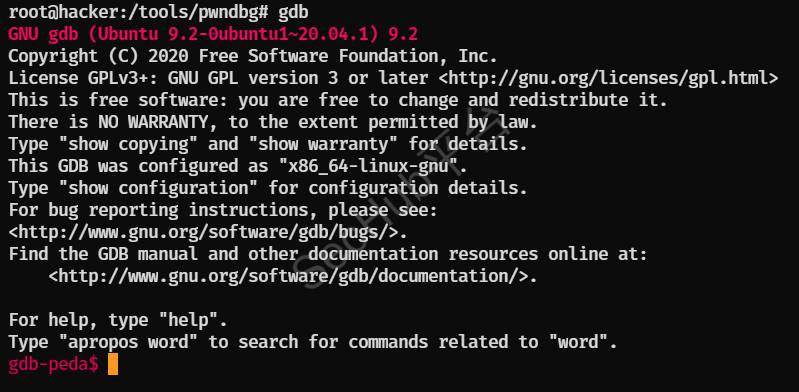
#peda
#source /tools/peda/peda.py
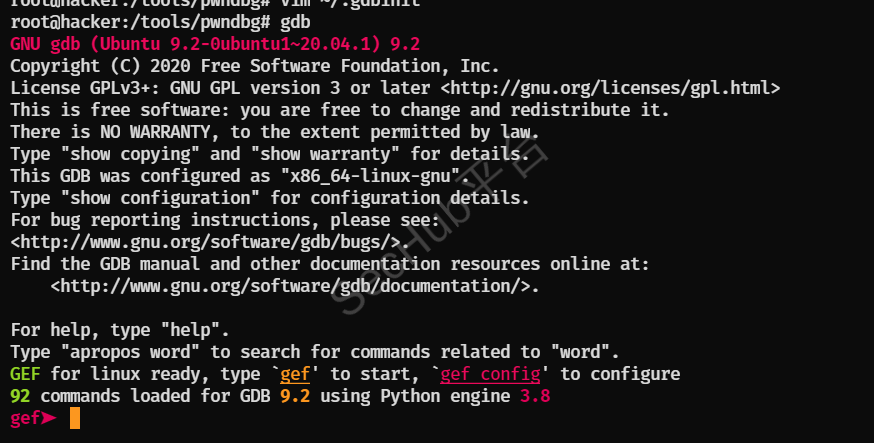
#gef
#source /tools/gef/gef.py
#Pwngdb
source /tools/Pwngdb/pwngdb.py
#Pwngdb
source /tools/Pwngdb/angelheap/gdbinit.py
set disassembly-flavor intel
#set show-tips off
set confirm off
#Pwngdb
define hook-run
python
import angelheap
angelheap.init_angelheap()
end
end
选择pwngdb插件,则把另外两个gef和peda注释掉,然后保存退出,其他插件同理.
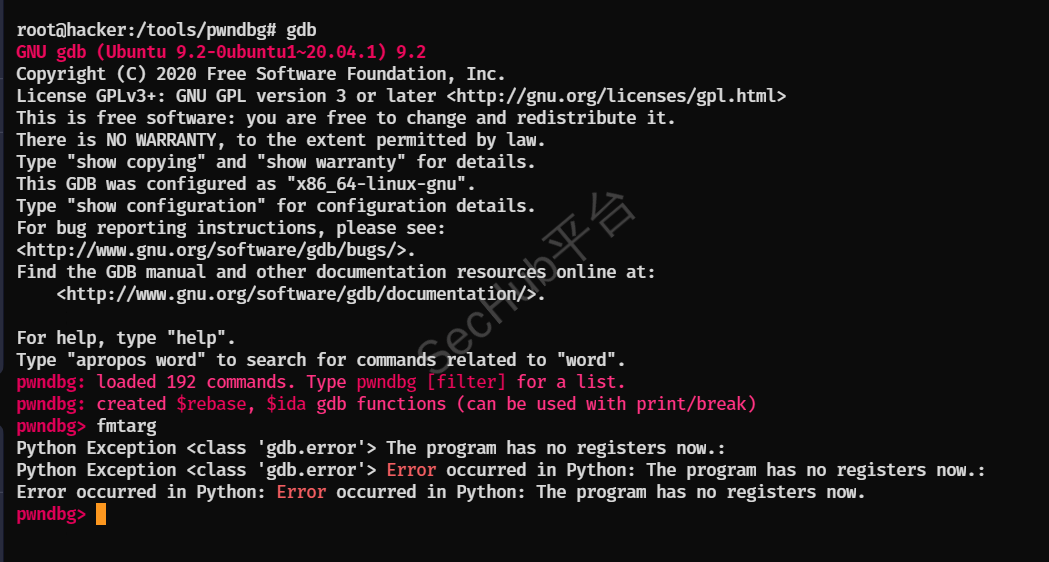
注意:要把source /tools/pwndbg/gdbinit.py的配置放在前面,否则会报错:

正常回显,可以使用
查ROP链的工具
安装命令:
root@hacker:/tools# sudo pip3 install capstone
root@hacker:/tools#git clone https://github.com/JonathanSalwan/ROPgadget.git
gitclone命令如下:
root@hacker:/tools#git clone https://gitclone.com/github.com/JonathanSalwan/ROPgadget
root@hacker:/tools#cd ROPgadget
root@hacker:/tools/ROPgadget# sudo python3 setup.py install

如果出现如上报错,则输入:
hollk@ubuntu:~/tools/ROPgadget-master$ sudo cp -r scripts /home/hollk/.local/lib/python3.8/site-packages/ROPGadget-6.5.dist-info
## 后路径为图片中红框内报错路径
检验安装是否成功:

查找可存储寄存器的代码
ROPgadget --binary  [pro]  --only 'pop|ret' | grep 'eax'
ROPgadget --binary  [pro]  | grep 'rdi'
查找字符串
ROPgadget --binary rop --string "/bin/sh"
查找有int 0x80的地址
ROPgadget --binary rop  --only 'int'
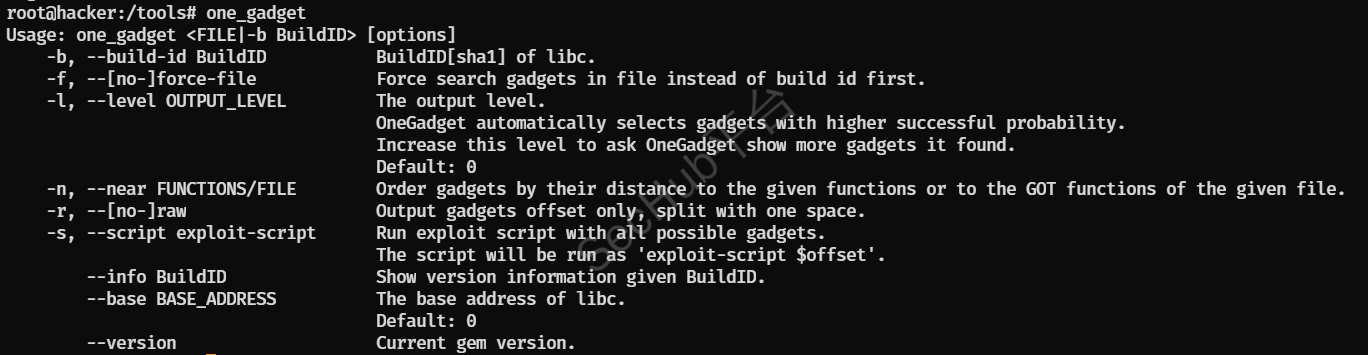
one_gadget是自动查找ELF文件中的execve的,通过exp实现RCE
安装命令:
root@hacker:/tools# sudo apt-get install ruby
root@hacker:/tools# sudo gem install one_gadget
one_gadget libc.xxx.so
检测是否安装成功:
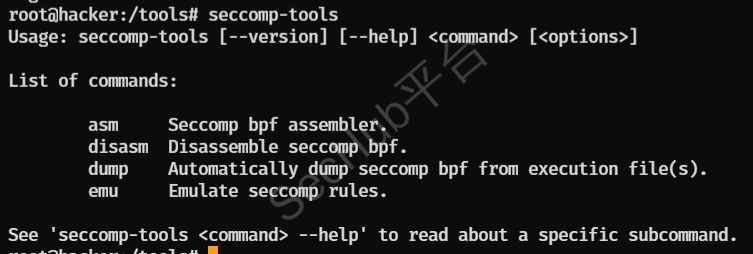
针对于CTF的沙盒题,即多种限制的题目
安装命令:
root@hacker:/tools# sudo gem install seccomp-tools
如果失败:
root@hacker:/tools# sudo apt install gcc ruby-dev
root@hacker:/tools# sudo gem install seccomp-tools
检测是否安装成功:
寻找Libc版本的工具
安装命令:
root@hacker:/tools#git clone https://github.com.cnpmjs.org/lieanu/LibcSearcher.git
root@hacker:/tools#cd LibcSearcher
root@hacker:/tools#sudo python3 setup.py install
gitclone:
root@hacker:/tools# git clone https://gitclone.com/github.com/lieanu/LibcSearcher
检测是否安装成功:

LibcSearcher是基于libc-database做的脚本,由于下载的LibcSearcher可能由于某些原因Libc库并不完全,如果出现
Multi Results:
0: ...
1: ...
Please supply more info using  add_condition(leaked_func, leaked_address).
You can choose it by hand
Or type 'exit' to quit:
但是无论选哪个都有问题时要么是payload不对(例如栈未对齐)要么就是Libc库的问题。
cd LibcSearcher
rm -rf libc-database
git clone https://github.com/niklasb/libc-database.git
然后用./get进行Libc库更新
加速下载,由于./get使用wget,单线程的速度,加上某些原因,下载速度十分之慢,可以将下载工具换成多线程工具。
以mwget为例,先安装mwget,mwget是c语言开发的多线程下载工具
安装:
wget http://jaist.dl.sourceforge.net/project/kmphpfm/mwget/0.1/mwget_0.1.0.orig.tar.bz2
tar -xjvf mwget_0.1.0.orig.tar.bz2
cd mwget_0.1.0.orig
./configure
#报错intltool
#apt install inttool
#报错openssl
#apt install libssl-dev
#报错语法错误strlen之类的
#在mwget_0.1.0.orig/src/utils.h中添加#include<string.h>
make & make install
替换:修改LibcSearcher/libc-database/common/libc.sh中下载文件部分(get_ubuntu函数)为以下内容:
get_ubuntu() {
  local url="$1"
  local info="$2"
  mkdir temp
  #$tmp的方式mwget会出问题,直接改成temp更方便
  echo "Getting $info"
  echo "  -> Location: $url"
  local id=`echo $url | perl -n -e '/(libc6[^\/]*)\./ && print $1'`
  echo "  -> ID: $id"
  check_id $id || return
  echo "  -> Downloading package"
  mwget -n 50 -t 5 "$url" 2>/dev/null -d temp/ -f pkg.deb || die "Failed to download package from $url"
  #设置mwget50线程下载
  echo "  -> Extracting package"
  pushd temp 1>/dev/null
  ar x pkg.deb || die "ar failed"
  tar xf data.tar.* || die "tar failed"
  popd 1>/dev/null
  suffix=
  cnt=1
  for libc in $(find temp/ -name libc.so.6 || die "Cannot locate libc.so.6"); do
    process_libc $libc $id$suffix $info $url
    cnt=$((cnt+1))
    suffix=_$cnt
  done
  rm -rf temp/
}
其中mwget行可以换成自己的多线程工具,保证下载文件为temp/pkg.deb即可.
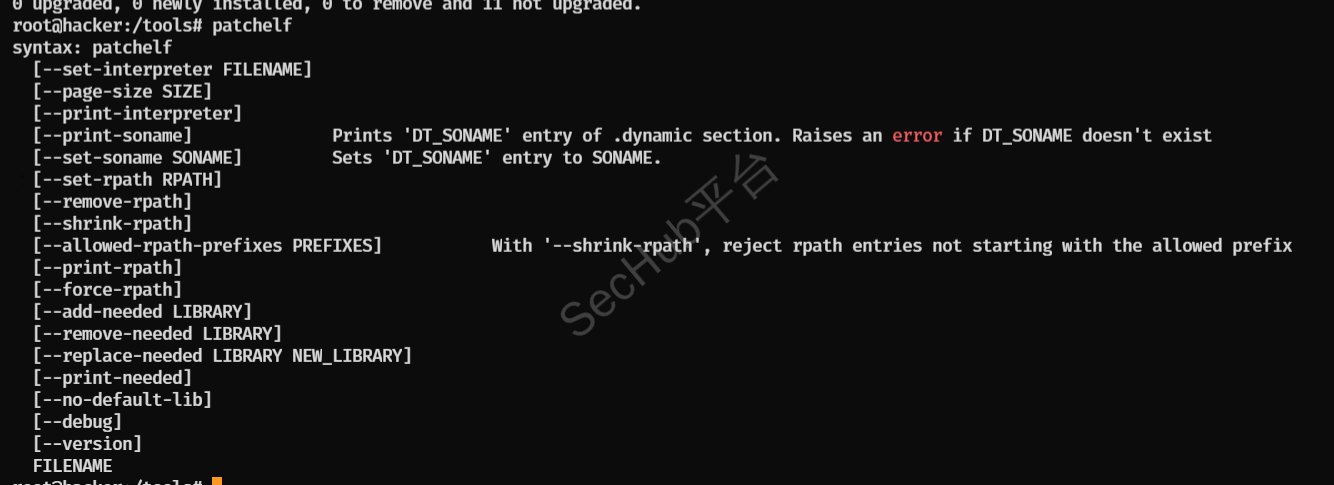
更改题目中的Libc
安装命令:
root@hacker:/tools# sudo apt install patchelf
检测是否安装成功:
用于将bzimage解压为vmlinux的工具,在kernel pwn中常用
root@hacker:/tools#git clone https://github.com/marin-m/vmlinux-to-elf
root@hacker:/tools#cd vmlinux-to-elf
root@hacker:/tools/vmlinux-to-elf#sudo python3 ./setup.py install
检测是否安装成功:

安装命令:
root@hacker:/tools# sudo apt-get install gcc-arm-linux-gnueabi
root@hacker:/tools# sudo apt-get install gcc-aarch64-linux-gnu

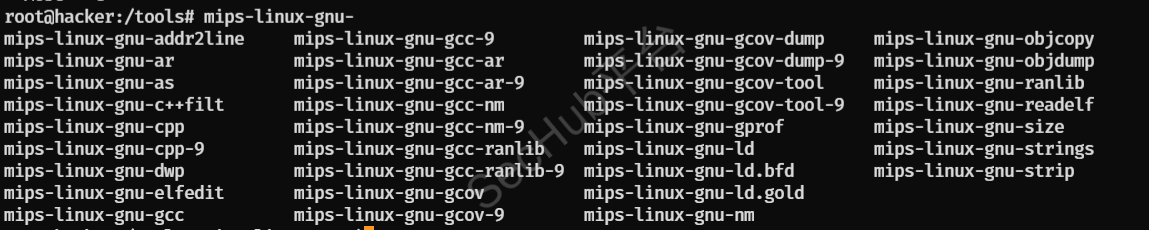
安装命令:
root@hacker:/tools# sudo apt-get install gcc-mips-linux-gnu
root@hacker:/tools# sudo apt-get install gcc-mipsel-linux-gnu
root@hacker:/tools# sudo apt-get install gcc-mips64-linux-gnuabi64
root@hacker:/tools# sudo apt-get install gcc-mips64el-linux-gnuabi64
参考文章:
    from elftools.common.py3compat import bytes2str
ModuleNotFoundError: No module named 'elftools.common.py3compat'
查看下pyelftools的版本是不是0.30,测试后发现0.29版本不会报错,卸载当前版本,换回旧版
pip uninstall pyelftools -y
pip install pyelftools==0.29